Making insect collections are great ways to explore the world of bugs and discover what else is living in the surrounding environment. If done correctly, collections are learning tools and interesting keepsakes. Consider starting a personal insect collection, in this blog post, we will discuss how to start a bug collection at home to explore the world of insects.
MATERIALS
Beautiful butterflies stored safely in an airtight box.
Collecting:
Insect Net (Recommended but NOT required)
Preservation:
Plastic bag, jar, or airtight plastic container
Freezer
Mounting:
Insect Pins
Spreading Board
Pinning Block
Styrofoam
OR
Vial
Rubbing alcohol
Labeling:
Card stock
Computer and Inkjet Printer
Storing:
Box with tight-fitting lid
Cork or Foam
Fumigant such as moth balls
PRESERVATION
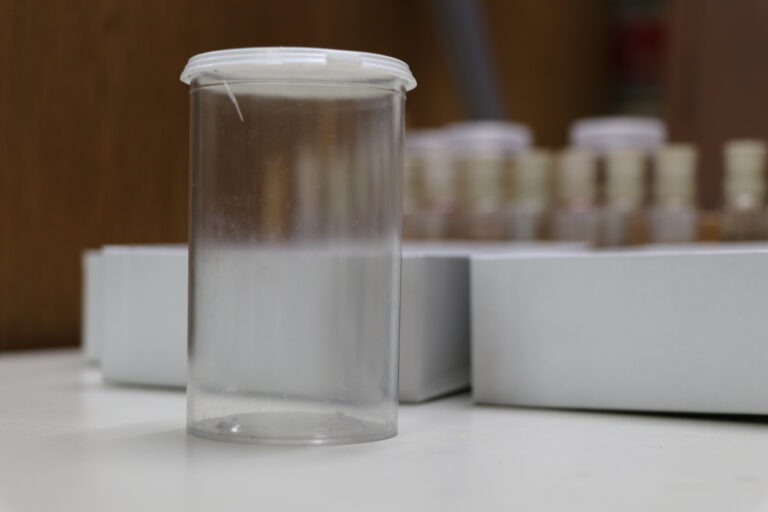
Prior to collecting the insects, be sure to have an effective means of euthanasia to preserve them in a collection. The easiest way to euthanize the insects is to put them in a plastic container, jar, or plastic bag and put them in the freezer overnight. It is important to remove the insects from the freezer at least one hour prior to pinning so they are workable.
Example of a jar that can be used for preservation.
COLLECTING
To have a well-rounded collection with different kinds of insects, it is important to collect in different habitats at different times of the day. Each kind of insect is unique, some only come out during the day, some only at night. Some places to collect are in a yard, in grassy areas such as fields, around water, on plants, near light at night, and under stones, soil, logs, and plant debris. Remember, most insects are small, do not be afraid to examine habitats closely for the small, hidden ones. It is amazing to see how many insects live on tree trunks or in a grassy lawn. Life is out there just waiting to be found.
To effectively capture a bug with a net, slowly position the insect net under the insect, then quickly swing the net upward turning the handle so the net folds over the ring and the insect cannot escape. Although an insect net is recommended, it is not required, careful fingers and a jar work just as well!
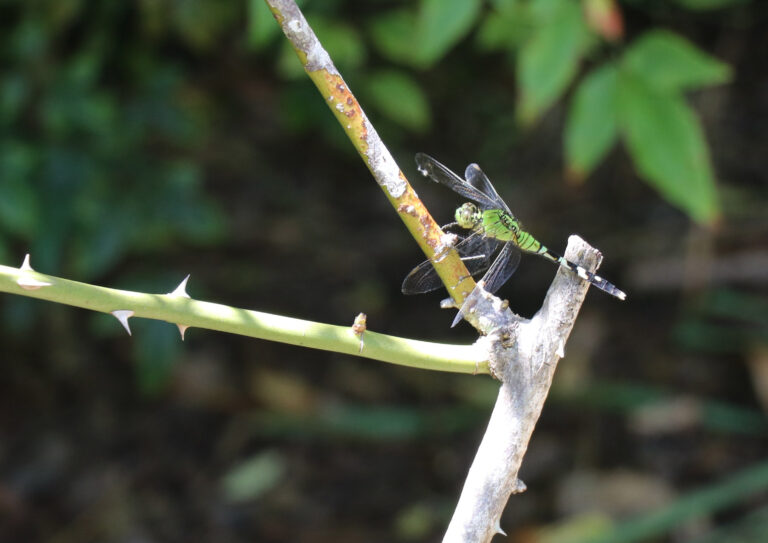
This dragonfly resting on a rose bush would be easily captured with an insect net.
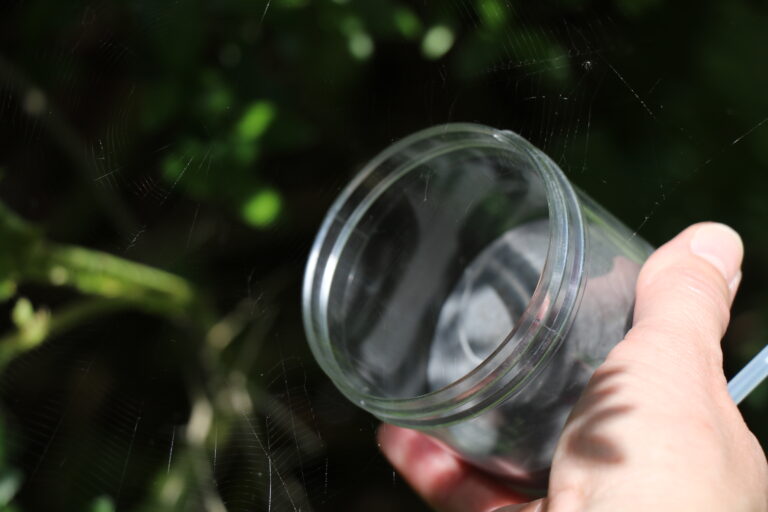
Collecting spider out of spider web with a jar.
MOUNTING
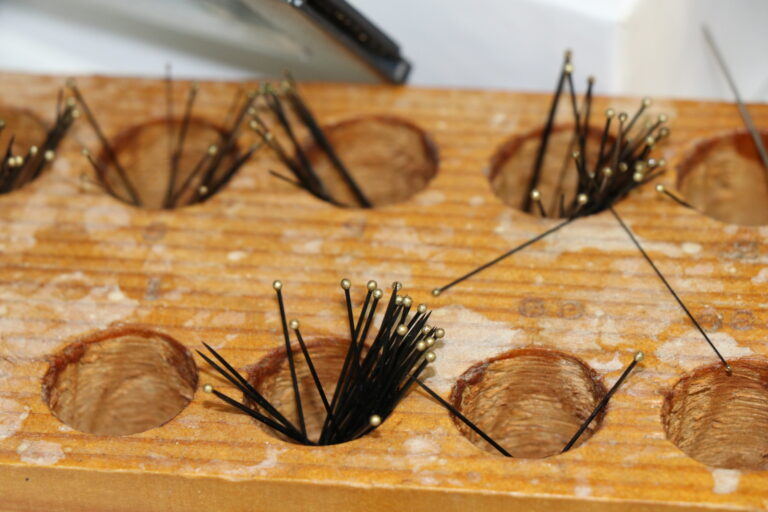
Medium and large insects are mounted by pinning and drying them. Do not use common, straight sewing pins as they react poorly with the insect fluid and can break and ruin the specimen. Use entomological pins, which are made of steel that will not rust and damage the specimen. The pins can be purchased through biological supply companies online and come in a range of sizes. However, size 2 or 3 are most common.
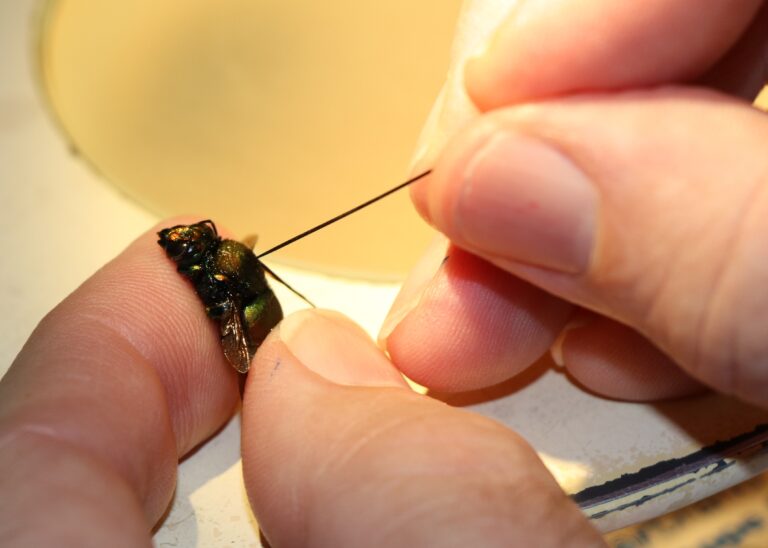
To pin the insect, put the pin through the insect slightly to the right side through the middle body segment, or somewhere the specimen will not be damaged. The pin should be inserted so the insect is straight on the pin from every angle. The insect should be high enough on the pin to leave about 10 mm above the insect as a handle. To keep the height of the uniform, use a pinning block, these can be purchased online or homemade.
There are different ways to mount insects. To prevent legs from drooping, push the insect into a piece of Styrofoam and position the legs and wings as desired.
A spreading board may be necessary for butterflies and insects with large wings. These can be homemade with cardboard or purchased online. Learn how to make one with a simple search online.
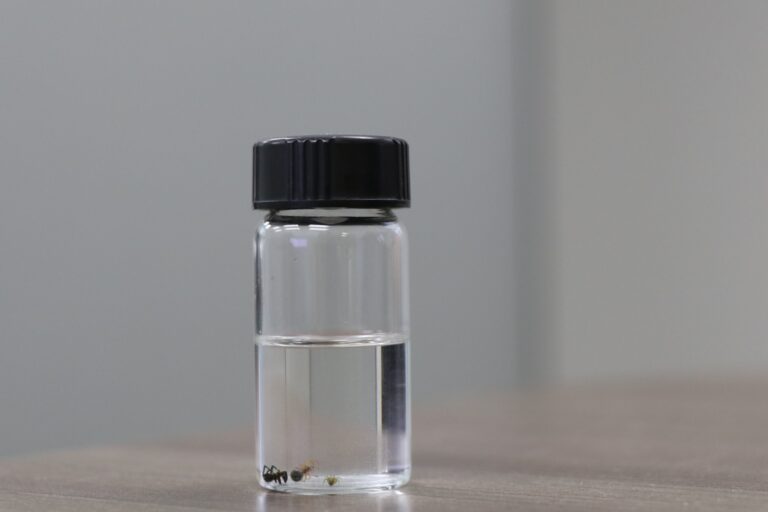
Soft bodied insects should be stored in vials of alcohol, these vials can be purchased from a biological supply company or ordered online.
Steel entomology pins covered with black enamel.
Insect getting pinned to be mounted.
Spiders stored in a vial of alcohol.
IDENTIFYING AND LABELING
It is important to effectively label the specimen in a collection to provide necessary information for anyone who may be looking at the collection. The two labels to include are the date and locality label and the identification label. The most important label is the date and locality label, which includes the place the specimen was collected as accurately as possible, the day, month, and year collected, and the name of the person who collected it. The identification label should include the order and the common name of the insect. This label is less important, and its placement can vary depending on the purpose of the collections. These labels should be printed with a waterproof ink, most inkjet printers work fine. For pinned insects, use card stock and 4 point Arial font. For specimen in a vial of alcohol, bond paper is preferred and print in 8 point font. Labels should be trimmed closely to minimize white space before being placed with the specimen.
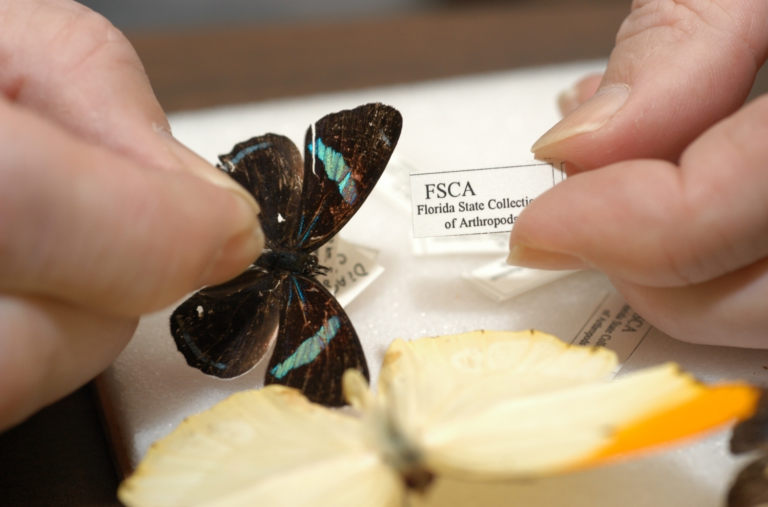
Labeling butterfly specimen.
STORING
Once insects have mounted and labelled in a collection, be sure to store it properly to protect the collection from pests. Use a box with a tight-fitted lid, lined with foam or cork to pin the specimen in. Use a fumigant such as naphthalene (moth balls) to repel insects. The tight-fitting lid prevents fumigants from escaping and destructive insects from entering.
If for some reason a collector is no longer interested in keeping their collection, they can donate it to a museum such as the Florida State Collection of Arthropods or a science teacher as an educational tool they can utilize for years to come.
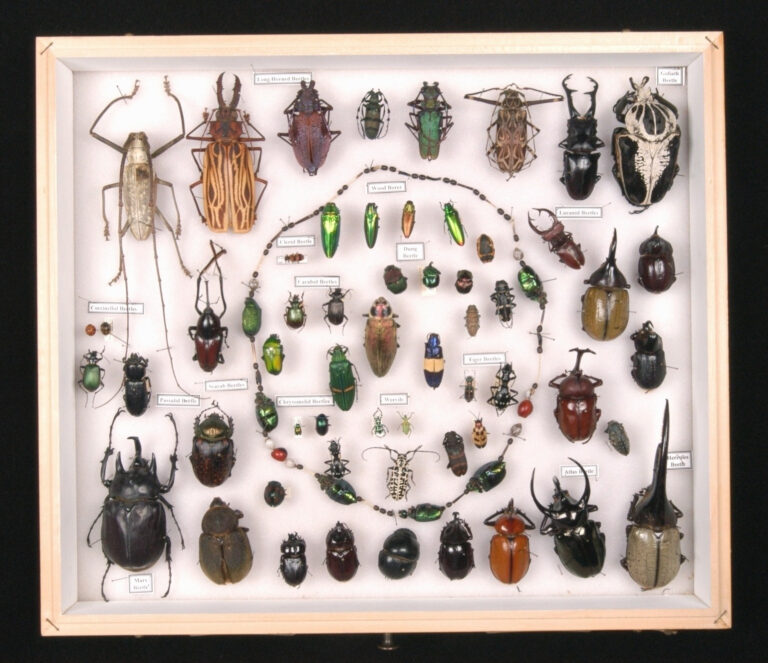
Collection of beetles stored in an airtight box to protect from damage.